It’s hard to believe that it has already been three months since our last construction update on Kaat Cliffs. The last time we shared an update on this project, the foundation walls had been poured and formwork had been removed. Now, we’ve progressed much further. The foundation walls were backfilled in February and framing started towards the latter half of March. Make sure to go all the way to the bottom of this post to see a very fun timelapse video of all of the framing and roofing installation work thus far!
Backfill and Slab Prep
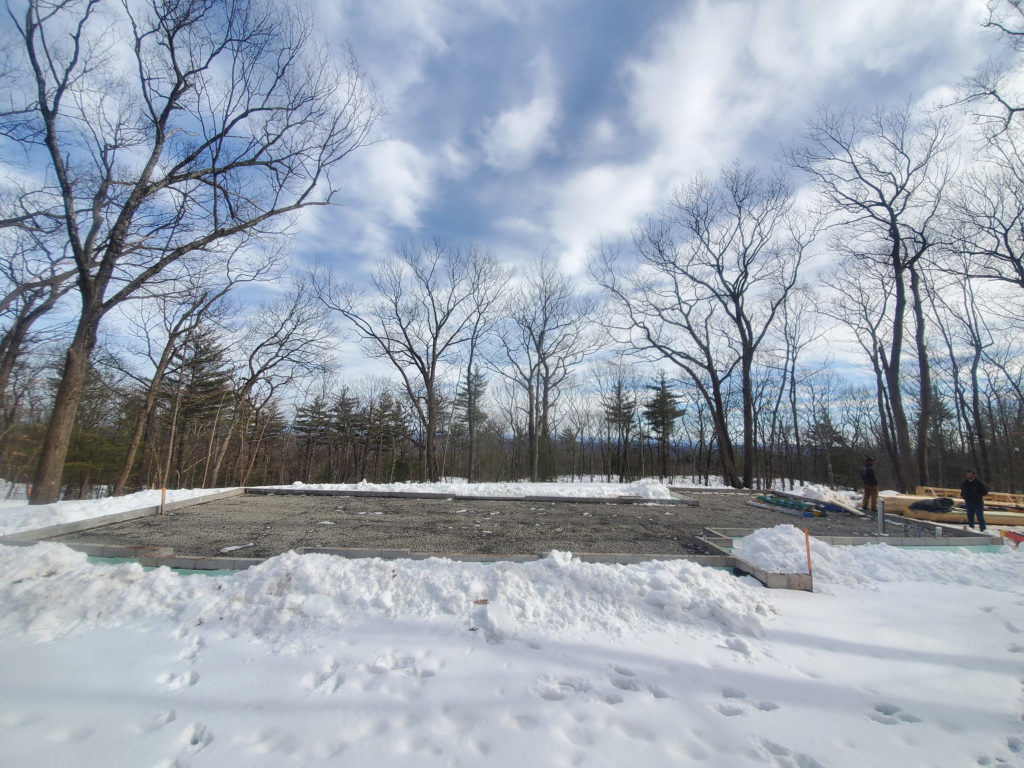
Once foundation walls were poured and formwork was removed, our excavator was able to come back onsite and backfill the site. Before moving dirt into place, all of the foundation walls are waterproofed on the exterior and perimeter drains are laid around the footings to ensure that water is guided away from the structure of the house.
On the interior of the foundation walls, insulating foam is laid against the walls and then dirt is brought in to fill it to the correct level for the slab. Since most of our projects, including this one, are slab on grade, we have to backfill much of the interior of the foundation walls in addition to the exterior. After dirt, we lay down a layer of gravel and are ready for the slab to be poured. Since it was still a little too wintery to be pouring a slab in February, we moved pouring the slab to later in the construction process – once the weather is consistently warm and we need the slab to continue framing work, we’ll come back and pour it in place. All of this site work involves lots of moving around of dirt, but results in the foundation walls being buried and ready for framing.
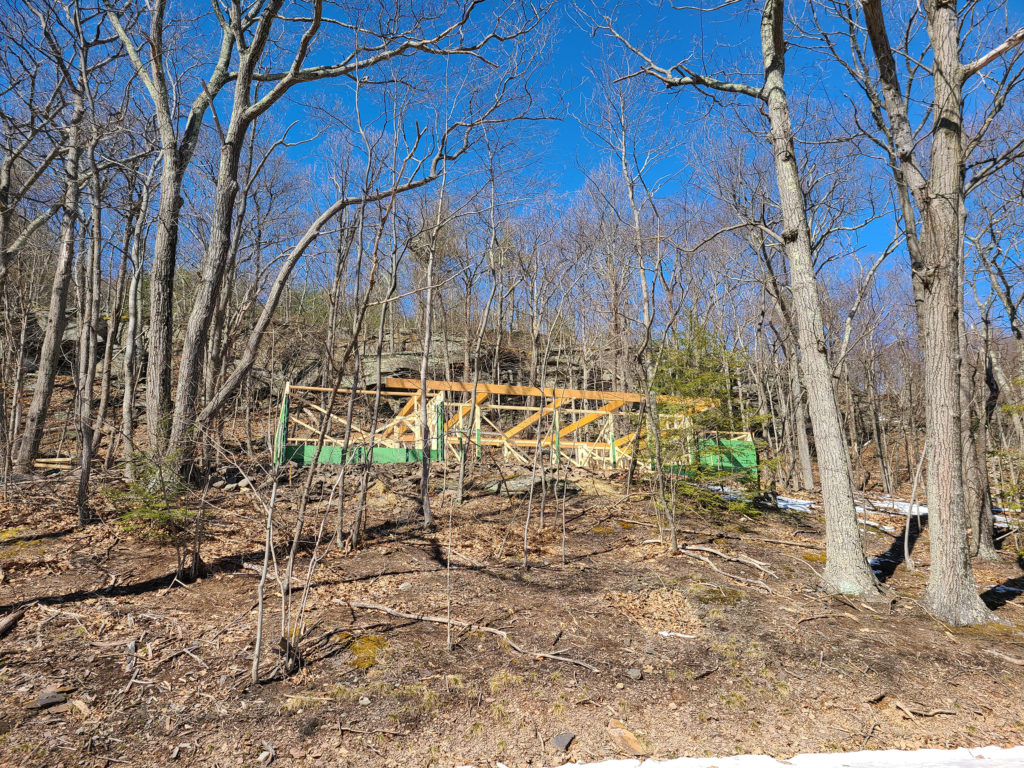
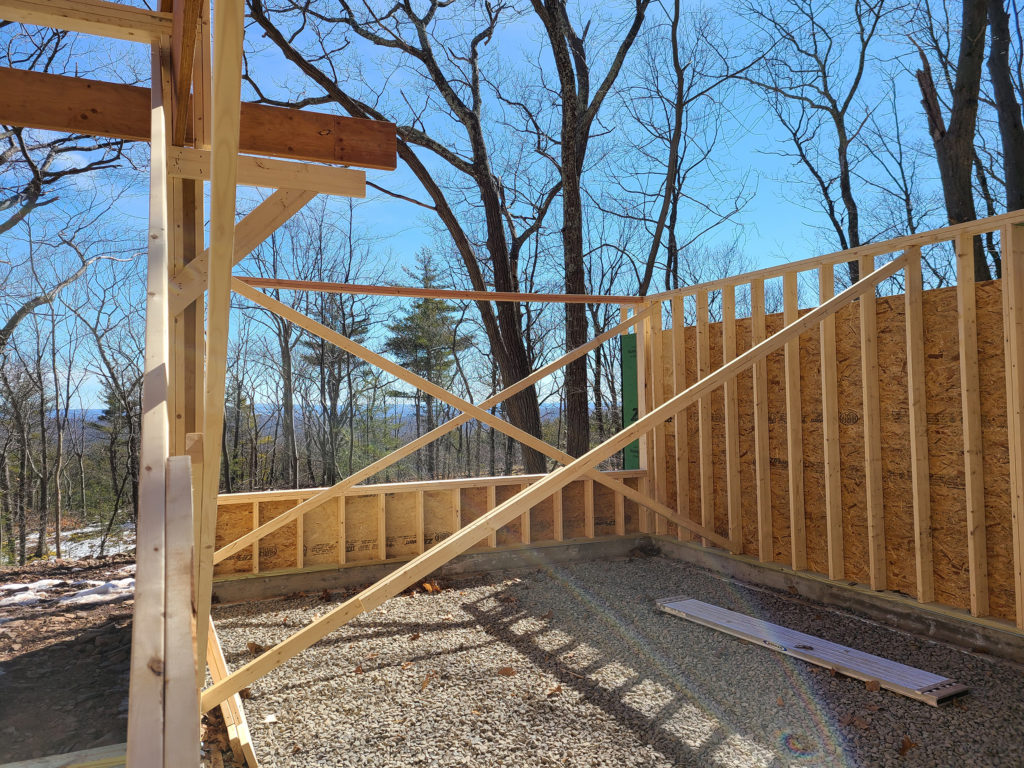
Framing: Round 1
As you can see from the images below, framing the house is multi-step process. The initial phase involves putting up enough of the walls to get the large structural elements in place – for Kaat Cliffs, that means the large beams running perpendicular to the main living area. As the exterior walls are framed, careful attention is paid to window and door headers and truss connections.
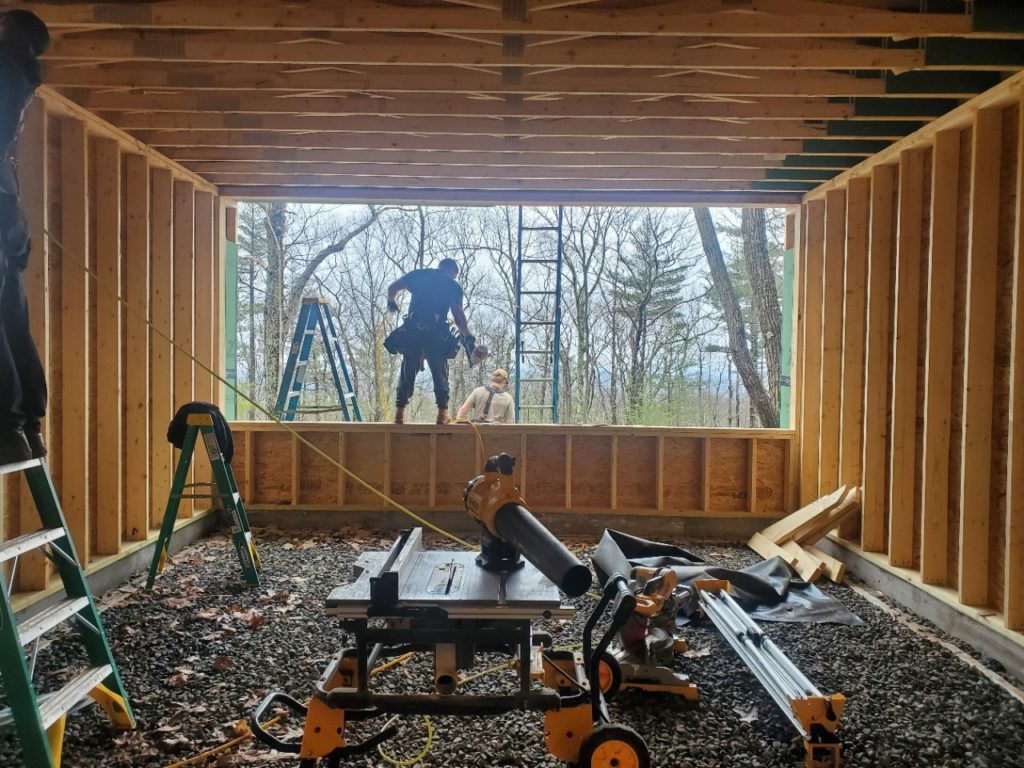
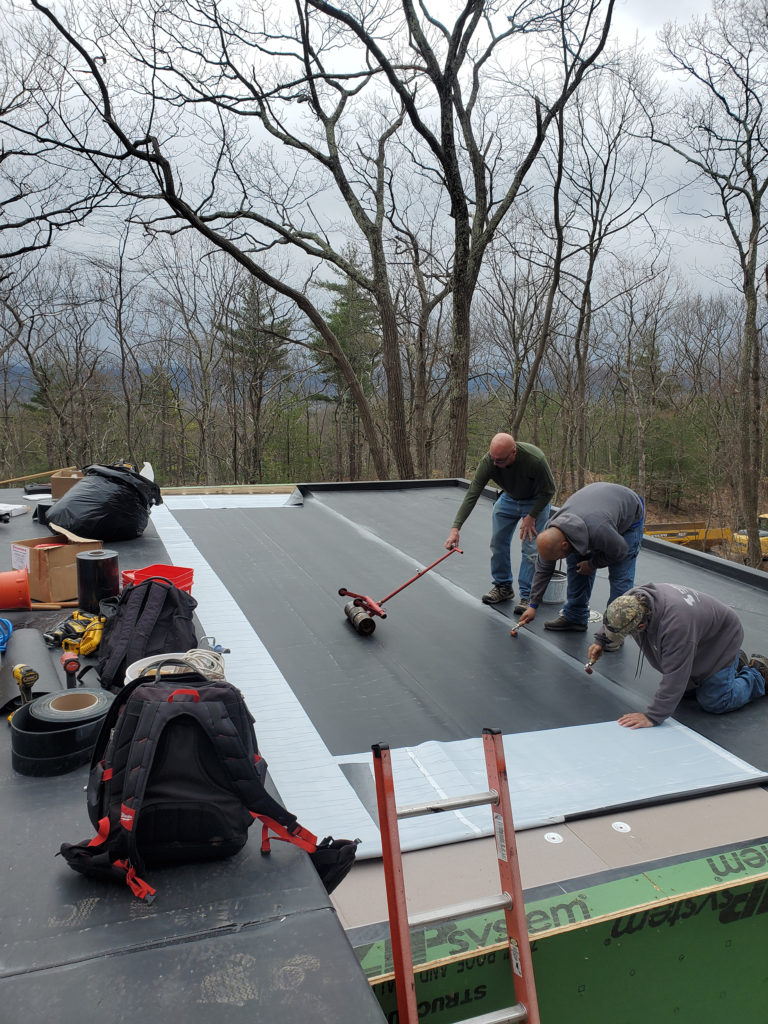
A Roof Overhead
Once the first pass of framing is complete, the house needs a roof! At this point, we’ve framed and sheathed the exterior walls and the roof. Once all of that framing is up and ready, our roofing subcontractors come to install sloped foam insulation and the roofing membrane. On Kaat Cliffs, we have a parapet around a good portion of the building. This means that all of the sloped insulation will be hidden behind a small extension of the exterior wall – rather than the roof sitting above the top of the framed walls, it sits slightly below. To make sure that all of the water runs off of the flat roof, sloped insulation is installed. It takes a bit of mathematics and geometry to determine how to get all of the angles and slopes just right. While we determine much of this in our construction drawings, we also rely on our experienced team of roofers to make it just right.
Timelapse!
Check out this super fun timelapse video – it makes the framing process look super speedy, but it takes a lot of care and attention to detail to get this house framed just right. Kaat Cliffs is looking very ready for the next steps – we’ll be back to update you on how the slab pour and window installation goes, as well as share how the interior spaces start to take shape.